Studio Initial Configuration
This guide will help you configure your Studio for the first time.
When accessing the Studio for the first time, you will be prompted to register a Super Admin user. This user will have access to all the features of the Studio and will be able to create other users and manage their roles.
Provide the required details and click on the Submit button to complete the registration process.
Step 1: Register a Super Admin User
- Open the Studio URL in your browser.
- Click on the
Registerbutton.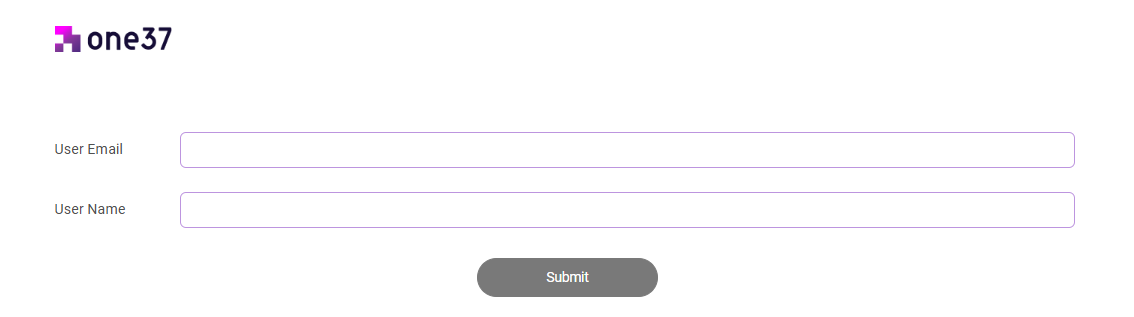
- Fill in the required details and click on the
Registerbutton. - You will be presented with a QR code to scan with any TOTP compliant Authenticator App eg. Google or Microsoft Authenticator
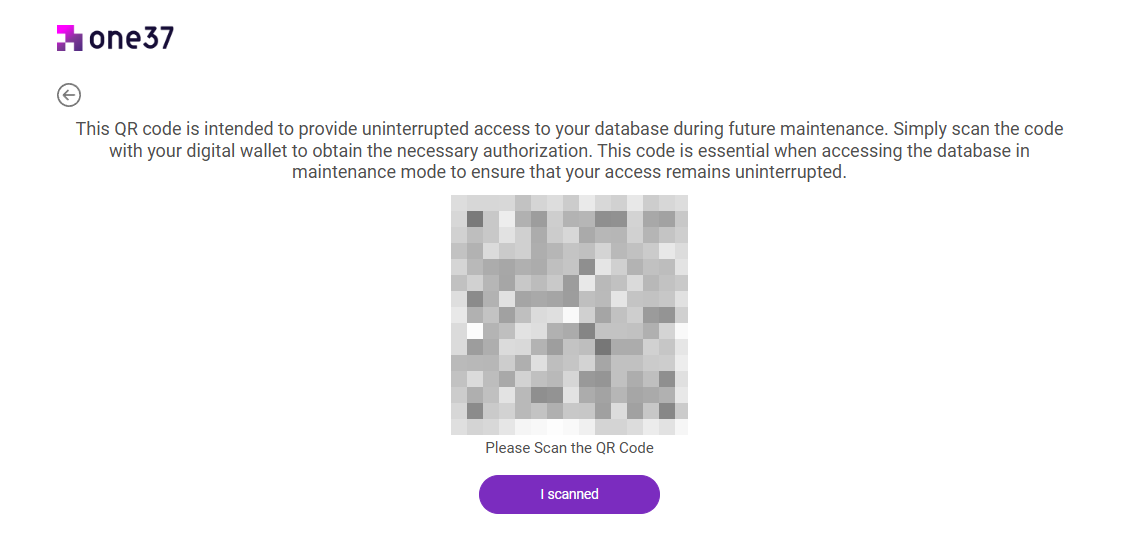
- After the application is registered in the Authenticator App, enter the OTP code and click on the
Submitbutton. - You will be redirected to the Studio Dashboard page.

Now that you have successfully registered a Super Admin user, you can creating additional users as required by clicking on the Users tab on the left sidebar.
Step 2: Configure Database Connections
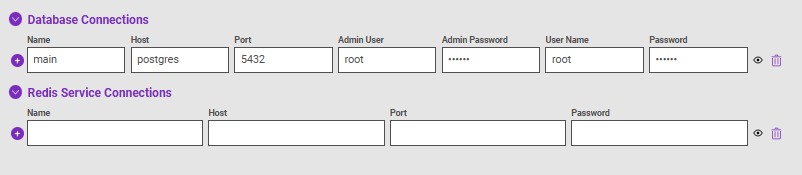
The Studio already comes configured with a default PostgreSQL database connection called main, which it imported from the environment settings during setup. You can view the database connection by clicking on the Database Connections tab on the left sidebar.
You can add more PostgreSQL database connections as required. Click on the + button on the left side to add a new row and fill in the required details.
You must now also configure your Redis Cache connection. To do this, complete the following form fields under the Redis Service Connections section.
- Name: Enter a name for the connection.
- Host: Enter the Redis host.
This is the IP address or hostname of the Redis server or its container name if it is running in the same docker network. - Port: Enter the Redis port.
- Password: Enter the Redis password (if any).
These connections will be referenced by the BC setup wizard for each instances to store data and cache information.
Next Steps
We now need to get our Business Connector instances running before we come back here to configure them.